Current location:Home > xl ironing board cover_funda de repuesto para tabla de planchar >

xl ironing board cover_funda de repuesto para tabla de planchar

Heavy-duty plastic table covers have become an indispensable asset for various events and settings,...
automatic washing machine covers
2025-08-14 16:47
Finding the perfect replacement cover for a small ironing board is crucial for ensuring smooth ironi...
replacement cover for small ironing board
2025-08-14 16:29
Beautiful ironing board covers are not just functional; they are an essential part of maintaining a...
beautiful ironing board covers
2025-08-14 16:19
Выбор правильного чехла для гладильной доски под парогенераторный утюг может значительно облегчить п...
крышка гладильной доски
2025-08-14 16:02
Leopard ironing board covers have become a popular choice for those who want to add a touch of style...
leopard ironing board cover
2025-08-14 15:35
Steaming gloves have revolutionized the way we approach hand care and therapy . With the rise of sel...
steaming gloves
2025-08-14 15:35
Наволочки для гладильной доски — это не просто декоративный элемент . Правильно подобранная обивка и...
Высококачественные гладильные крышки для европейских или американских рынков
2025-08-14 15:32
The Benefits of Waterproof Ironing Board Covers When it comes to ironing, having the right accessori...
waterproof ironing board cover
2025-08-14 15:26
Understanding the Importance of Replacement Covers for Tabletop Ironing Boards Ironing is an essenti...
Replacement Covers for Tabletop Ironing Boards to Enhance Your Ironing Experience
2025-08-14 14:57
For many households, ironing is a frequent routine, making the choice of ironing board cover crucial...
funda para tabla de planchar de cerámica
2025-08-14 14:39
  • 1
  • 2
  • 3
  • 4
  • 5
  • 6
  • 7
  • 8
  • 9
  • 10
  • Latest articles
    If the chip is deep or large, you might need to use a filler material like epoxy putty
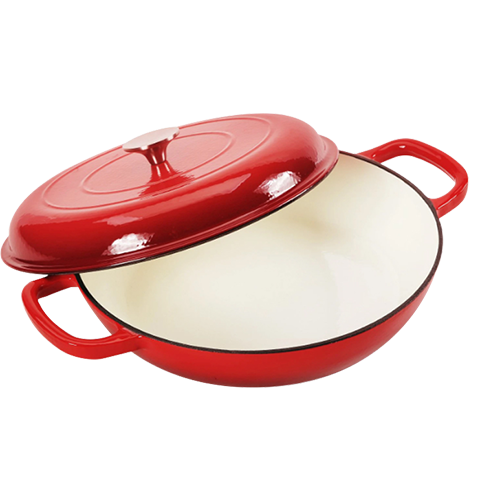
repairing chipped enamel cookware. Mix the putty as directed, then gently press it into the chip. Smooth the surface with a plastic spatula or your finger (ensuring it's clean and wet to prevent sticking). Once set, sand the area lightly with fine-grit sandpaper to blend it with the surrounding enamel.