Choosing the right ironing board cover can significantly enhance your ironing experience, and when i...
2025-08-16 02:48


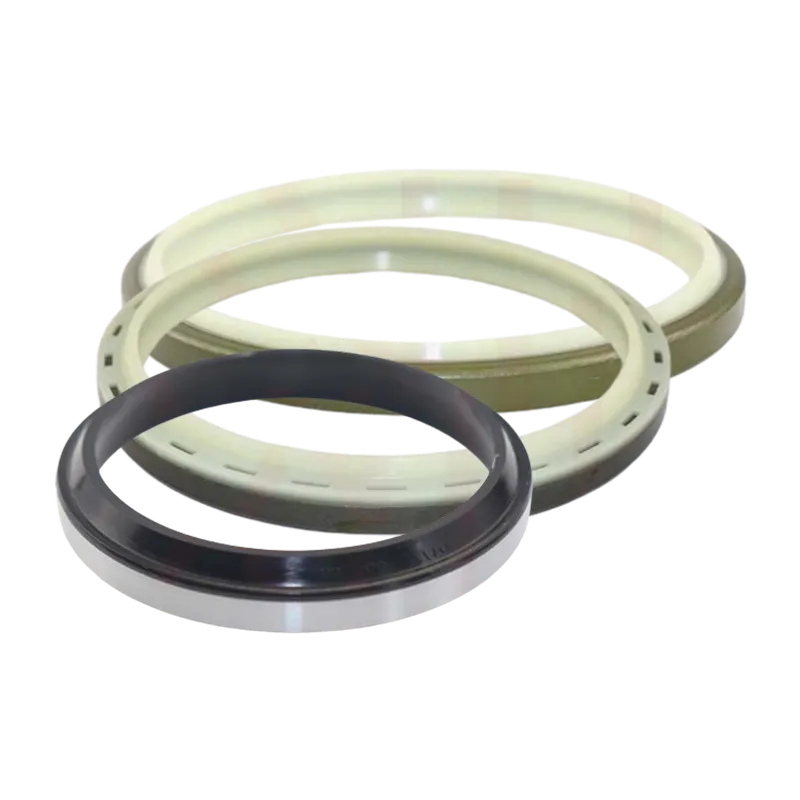
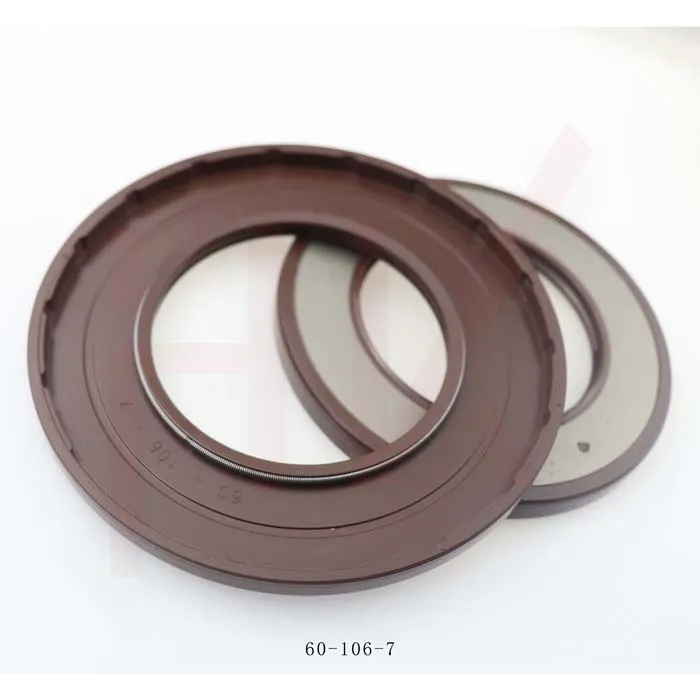 The rubber lip, in contact with the shaft, forms a tight seal that can withstand varying temperatures, pressures, and speeds The rubber lip, in contact with the shaft, forms a tight seal that can withstand varying temperatures, pressures, and speeds35x52x7 oil seal.
2. Remove the Boom Cylinder Start by detaching the boom cylinder from the excavator. This typically involves removing the pins and bolts that secure the cylinder to the boom and the attachment points. Use a hydraulic jack to support the cylinder as you loosen the connections.