The Importance of an Ironing Board Cover A Guide to Choosing the Right One When it comes to maintain...

2025-08-14 17:24


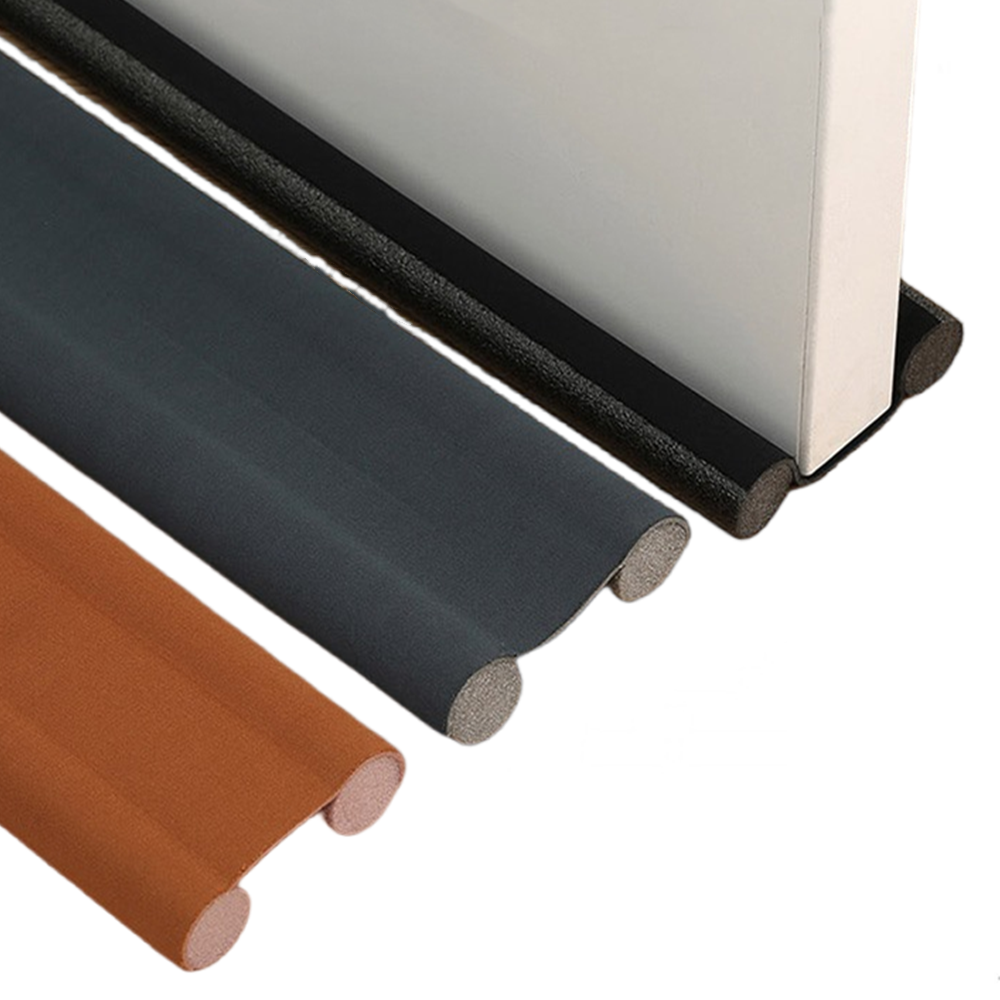
In addition to keeping out cold air, a draught excluder for the bottom of a door can also help to prevent insects and dust from entering your home. In the warmer months, doors that are left open or have gaps at the bottom can become entry points for pesky insects like flies, mosquitoes, and spiders. A draught excluder can act as a barrier against these unwanted guests, helping to keep your home insect-free.