Current location:Home > ironing board cover 110 x 32_washing machine cover design >

ironing board cover 110 x 32_washing machine cover design

High-quality thick ironing board covers might be an underestimated home essential, but their signifi...
thick ironing board cover
2025-08-15 04:18
Selecting the right ironing board cover can significantly enhance the efficiency and experience of i...
Optimizing Your Ironing Experience Top Ironing Board Cover Makers
2025-08-15 03:55
Convention table covers serve as a pivotal element in enhancing the aesthetic appeal and professiona...
convention table covers
2025-08-15 03:27
When it comes to the domestic chore of ironing, one often underestimated element is the ironing boar...
ironing board cover 122 x 44
2025-08-15 03:13
The search for a perfect ironing board cover can often be tedious and frustrating, leaving many peop...
geometric ironing board cover
2025-08-15 03:12
For those who seek efficiency in maintaining a polished wardrobe, owning the right accessories can m...
extra long and wide ironing board cover
2025-08-15 02:47
An ironing board cover is a vital household accessory that ensures smooth and efficient ironing. Ove...
How to Clean and Maintain Your Ironing Board Cover for Longevity
2025-08-15 02:22
For homeowners seeking an efficient, space-saving solution to their ironing woes, the over-the-door...
funda y almohadilla para tabla de planchar sobre la puerta
2025-08-15 02:08
When embarking on the journey of transforming your laundry routine, choosing the right ironing board...
metalen strijkplankhoes
2025-08-15 02:06
Finding the perfect cat ironing board cover may seem like a niche search, but for pet enthusiasts wh...
cat ironing board cover
2025-08-15 02:06
  • 1
  • 2
  • 3
  • 4
  • 5
  • 6
  • 7
  • 8
  • 9
  • 10
  • Latest articles
    If the chip is deep or large, you might need to use a filler material like epoxy putty
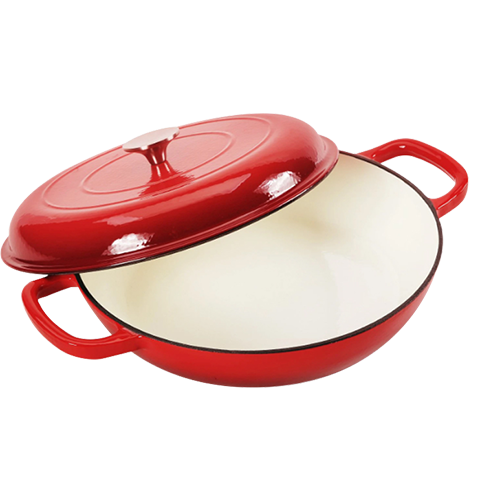
repairing chipped enamel cookware. Mix the putty as directed, then gently press it into the chip. Smooth the surface with a plastic spatula or your finger (ensuring it's clean and wet to prevent sticking). Once set, sand the area lightly with fine-grit sandpaper to blend it with the surrounding enamel.